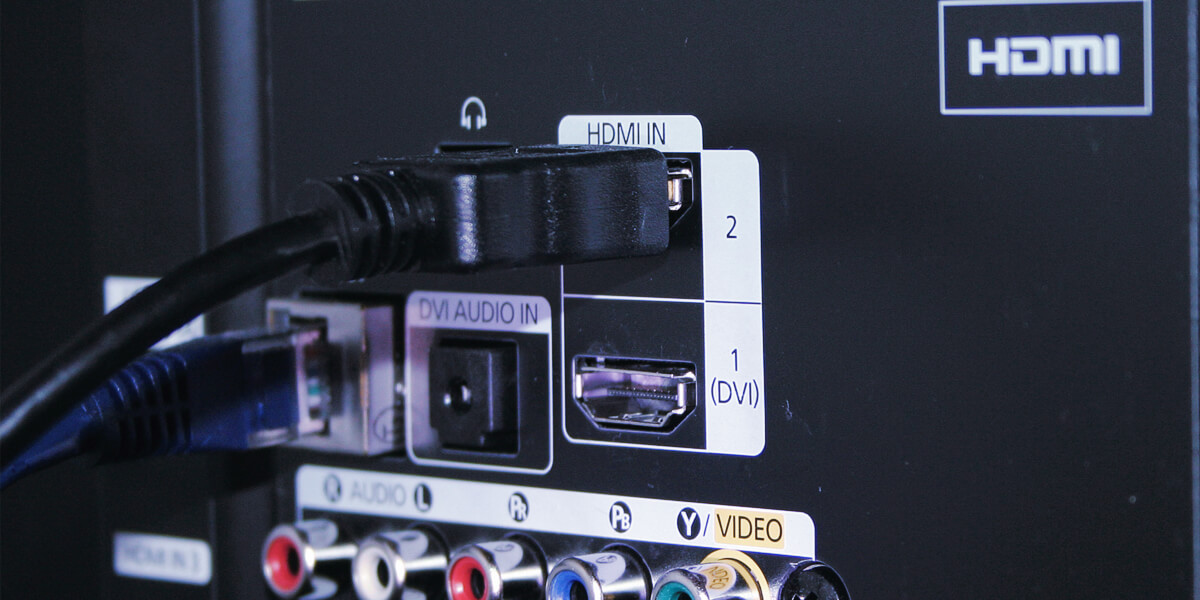
When we talk about how to connect the receiver to a TV, several options exist.
One of the most common methods is using an HDMI cable, which carries high-quality audio and video signals. Another option is connecting via component/composite. Alternatively, you can use the method of connecting via optical audio (TOSLINK). Also, it can be connected via analog audio (RCA).
Each option has advantages and limitations, so it’s essential to opt for the one that best suits your setup and requirements. I will consider different options for connecting the TV to a receiver in this article. I’ll share my experience connecting these devices and give you useful instructions.
Connecting via HDMI
It is generally accepted that the best way to connect an AV receiver to a TV is through an HDMI cable, which provides high-quality audio and video transmission in a single cable. HDMI connections really offer several advantages, including uncompressed digital signals, support for high-definition formats, and the ability to carry audio from the TV back to the receiver using an audio return channel (ARC). This setup eliminates the need for separate audio cables and simplifies the overall connection process.
Instruction for connecting the AV receiver to a TV using an HDMI
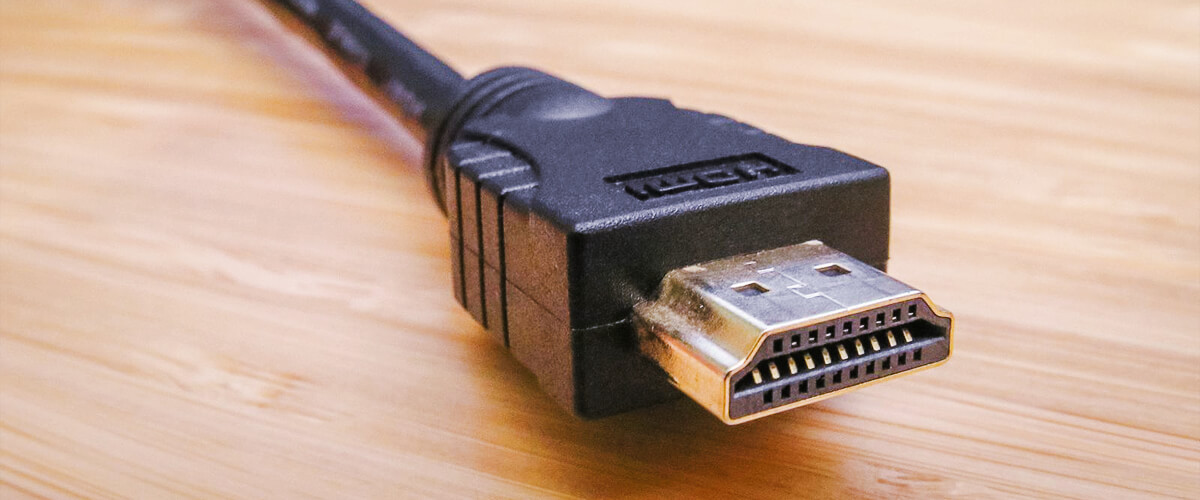
There is a universal algorithm for connecting the AVR to a TV using HDMI:
- Identify the HDMI output port on your AV receiver and the HDMI input port on your TV.
- Connect one end of the HDMI cable to the HDMI output port on the AV receiver.
- Connect the other end of the cable to an available input port on your TV.
- Power on your AVR and TV.
- Access the input/source menu on your TV and select the corresponding HDMI input to which you connected the cable.
- Configure the audio settings on your TV to use the AV receiver as the audio output device, if necessary.
- Test the setup by playing audio and video content to ensure proper functionality.
While HDMI connections offer numerous advantages, it’s worth noting that the cable length can impact signal quality, and the cables themselves can be more expensive compared to other connection options. However, considering the convenience, versatility, and superior audiovisual performance, connecting an AV receiver to a TV via HDMI is the recommended method for most setups.
Connecting via component/composite
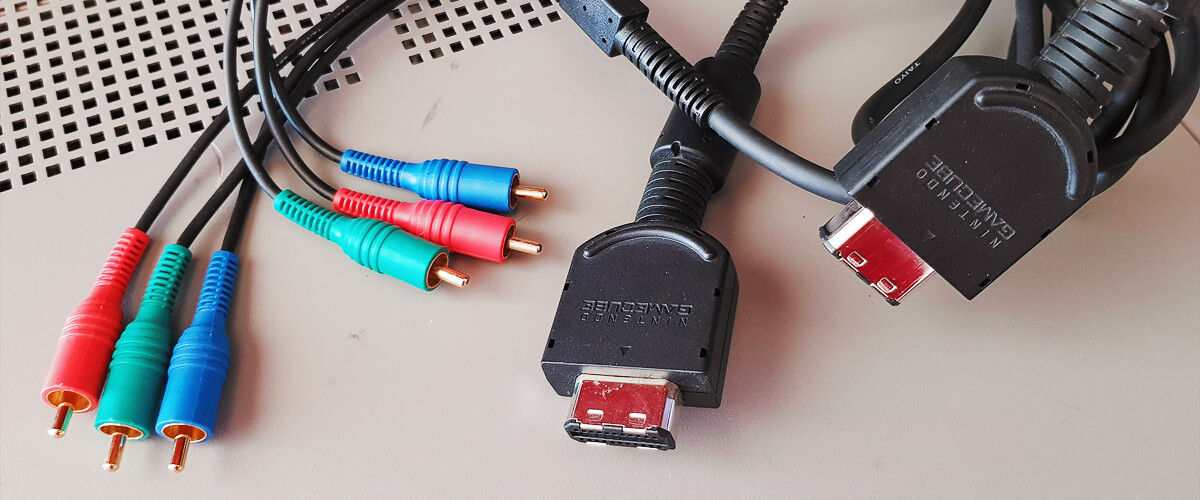
Component and composite connections are analog video connections used to transmit video signals between devices. Component connections separate the video signal into three channels (red, green, and blue), offering better video quality. Composite connections combine the video signal into a single channel (yellow), resulting in lower image quality.
However, both types of connections have advantages, including wide compatibility and simplicity of use. They are cost-effective options for connecting legacy equipment or devices without digital video connectivity.
Nonetheless, they have limitations, such as lower resolution support and the absence of advanced features found in digital connections.
Step-by-step instructions for connecting via component/composite cables
I have good instructions for you if you’ve chosen this variant:
- Identify the component/composite output ports on your AV receiver and the corresponding input ports on your TV.
- Connect the component/composite cables to the output ports on the AV receiver, ensuring that the red, green, and blue connectors are properly aligned with the corresponding color-coded ports.
- Connect the other end of the cables to the matching component/composite input ports on your TV. If using composite cables, connect the yellow connector for video and the white/red connectors for audio.
- Power on your AVR and TV.
- On your TV, access the input/source menu and select the component/composite input corresponding to the connection you made.
- Configure the audio settings on your TV to utilize the AV receiver as the audio output device if needed.
- Test the setup by playing audio and video content to ensure proper functionality.
Note: If you’re using composite cables for audio, connect the white (left channel) and red (right channel) connectors to the corresponding audio input ports on your AV receiver.
Connecting via optical audio (TOSLINK)
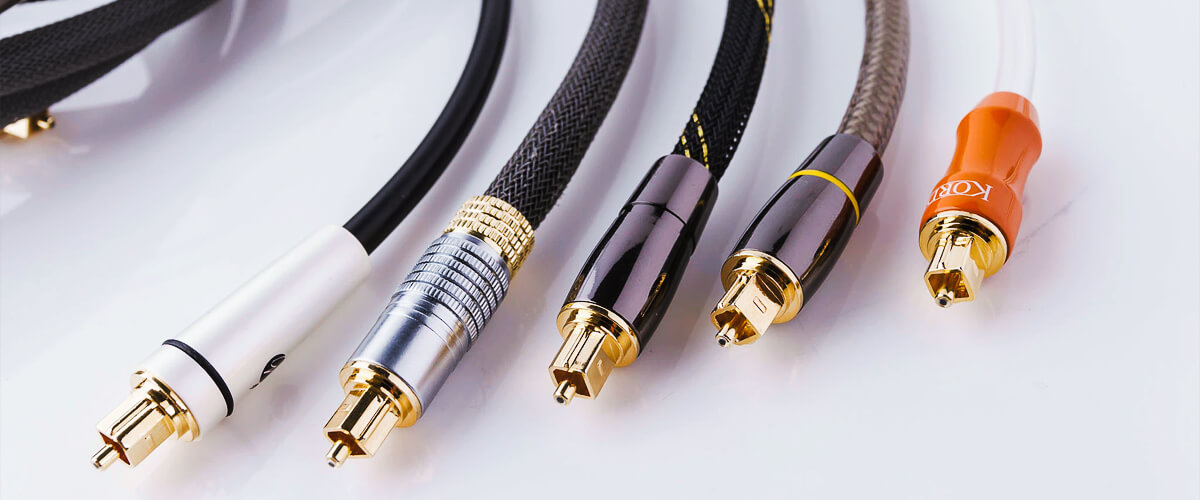
Optical Audio, also known as TOSLINK, is a digital audio connection that utilizes fiber optic cables to transmit audio signals between devices.
TOSLINK offers several advantages, including high-quality audio transmission with uncompressed and lossless formats. It is immune to electromagnetic interference, ensuring excellent sound fidelity. Additionally, this technology supports long cable runs, making it suitable for setups with devices placed far apart.
However, TOSLINK has limitations, such as limited channel support for advanced audio formats and the fragility of fiber optic cables.
Connecting devices via optical audio (TOSLINK)
The connection process includes the following steps:
Step 1: Check device compatibility
Ensure that the devices you want to connect have optical audio ports. These ports are usually labeled “TOSLINK,” “OPTICAL,” or depicted by a square-shaped opening with a flap.
Step 2: Prepare the necessary cables
Prepare an optical audio cable with the appropriate connectors (usually square-shaped) to fit the optical audio ports of your devices. Measure the required cable length based on the distance between the devices.
Step 3: Connect the devices
- Turn off the devices you want to connect.
- Insert one end of the optical audio cable into the optical audio output port of the TV and ensure a secure connection.
- Insert the other end of the cable into the optical audio input port of the receiving device and secure the connection.
- Make sure the cable is properly aligned with the ports to avoid damaging the cable or the ports.
- Turn on the devices.
Step 4: Configure audio settings
Access the audio settings on the TV and select the optical audio output as the audio output source. Consult the user manual or the manufacturer’s instructions if you need assistance with this step.
Step 5: Test the connection
Play content on the source device, such as a movie or music, and verify that the audio is being correctly transmitted to the receiving device. Adjust the volume levels as needed.
Optical Audio (TOSLINK) offers high-quality audio transmission, immunity to interference, and compatibility with various devices. While it has some limitations, like limited channel support and fragility, it remains a popular choice for connecting audio devices.
Connecting via analog audio (RCA)
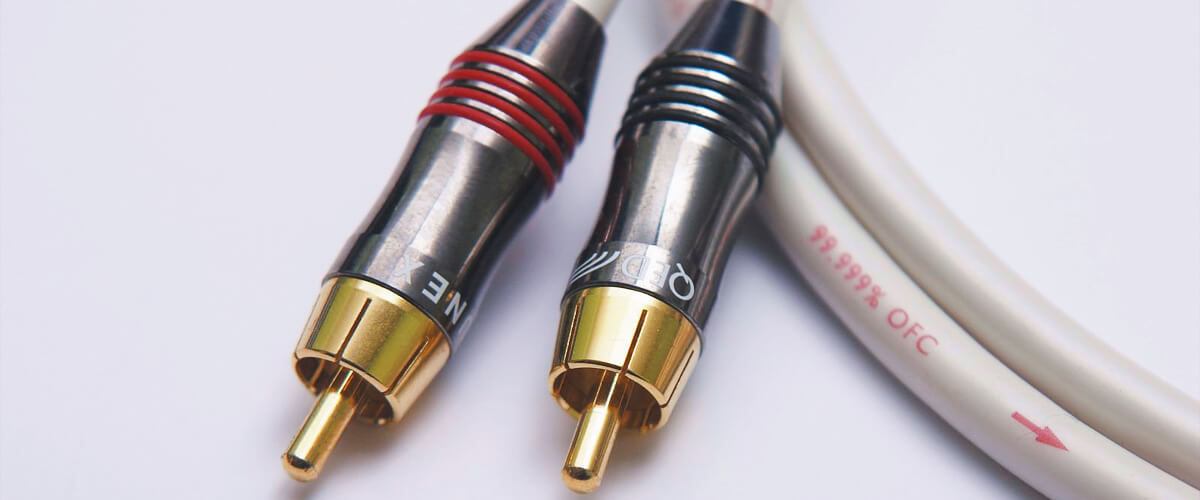
Connecting via analog audio, specifically using RCA cables, offers both advantages and disadvantages. RCA cables are a widely used method for transmitting audio signals between devices.
The advantages of this connection include simplicity and compatibility. RCA cables are easy to connect and compatible with various audio devices, making them versatile.
However, analog connections like RCA cables are susceptible to interference and signal loss, which can result in reduced audio quality. Additionally, RCA cables are limited in their ability to transmit high-resolution audio signals.
Connecting devices via analog audio (RCA)
And finally, let’s look at this type of connection. Naturally, I have convenient and understandable instructions for you. Let’s take a look at it.
Step 1: Check device compatibility
Ensure that the devices you want to connect have RCA audio ports. These ports are typically labeled “Audio Out” or “Line Out” for the source device and “Audio In” or “Line In” for the receiving device. They are usually color-coded as red (right channel) and white (left channel).
Step 2: Prepare the necessary cables
Prepare RCA audio cables with the appropriate connectors (red and white plugs) and the length required to connect your devices.
Step 3: Connect the devices
- Power off the devices you want to connect.
- Plug one end of the RCA cable into the corresponding red and white output jacks of the source device.
- Connect the other end of the cable to the corresponding red and white input jacks of the receiving device.
- Ensure a secure connection by pushing the plugs firmly into the jacks, making sure they are fully seated.
Step 4: Configure audio settings
Access the audio settings on the source device and adjust the output settings to direct the audio to the RCA connection. Some devices may have specific settings to designate the audio output to the RCA ports. Refer to the device’s manual for instructions if needed.
Step 5: Test the connection
Power on the devices and play an audio source, such as music or a video, to verify that the audio is being transmitted from the source device to the receiving device via the RCA connection. Adjust the volume levels as necessary.
Analog Audio connections via RCA cables as a way to hook up the TV to the receiver offer wide compatibility, simplicity, and cost-effectiveness for connecting audio devices. While they may be susceptible to signal degradation and offer limited audio quality compared to digital connections, RCA cables remain a popular choice.
FAQ
What cable gives the best sound quality?
HDMI generally provides the best sound quality due to its ability to transmit uncompressed and high-resolution audio formats, making it the preferred choice for optimal audio fidelity.
Can you hear the difference between optical and HDMI?
Yes, there can be a noticeable difference between optical and HDMI connections, particularly when it comes to transmitting higher-resolution audio formats, as HDMI supports uncompressed audio and advanced codecs that can result in a more detailed and immersive audio experience.
Can I use optical cable and HDMI at the same time?
Yes, you can use an optical cable and HDMI simultaneously. However, they serve different purposes, and it is possible to connect different devices using each cable simultaneously, depending on your audio setup and device compatibility.

